


If you’re brand new to Facebook, your
Timeline may seem a little empty compared to those of your friends. You
need a cover photo. Your Timeline will fill up shortly. But first, you
want to get the basics filled out so that people can find you and learn
about you. The first thing people will see when they arrive on your
Timeline is your cover photo and your profile picture.
These two photos at the top of your Timeline present the first
impression to all visitors to your Timeline. The cover photo is the
larger photo that serves as a background to your Timeline. People often
choose visually striking photos or images that speak to who they are and
what they love. To change your cover photo, follow these steps:
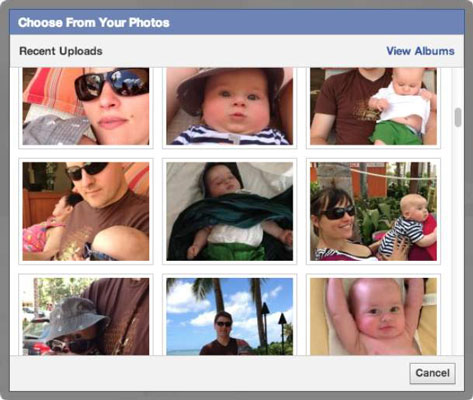
Click Choose from Photos to select a cover photo from photos you’ve already added to Facebook.
The Choose from Your Photos window appears. By
default, it shows Recent Uploads. You can get to a full list of your
photos by clicking View Albums in the upper-right corner.
- Hover over your existing cover photo.A Change Cover button appears on the right side of the photo.
- Click the Change Cover button.The Change Cover menu appears with four options: Choose from Photos, Upload Photo, Reposition, and Remove.If you’re using a Facebook Mobile app that syncs with your phone, you may also see an option to Add Synced Photo.
- Choose Upload Photo to select a cover photo from your computer.
 A window for navigating your computer’s files appears.
 - Select your cover photo by clicking your desired album and then the desired photo.This brings you back to your Timeline, where you should see the new cover photo in place with the overlaid message, Drag to Reposition Cover.
- Select the photo file you want as your cover and click Open.This brings you back to your Timeline, where you should see the new cover photo in place with the overlaid message, Drag to Reposition Cover.Because the cover photo spans the width of your Timeline, you may occasionally find that when you try to add some photos as your cover, you get an error telling you that it isn’t wide enough. Make sure your cover photo is at least 720 pixels wide to ensure that it will fit.
- Click and drag your cover photo to position it correctly within the frame of the screen.
- Click Save Changes.Your new cover photo is now in place.
If you don’t like the way your cover photo is positioned,
you can use the same Change Cover menu to either reposition or remove
your cover photo. You can change your cover as often as you want.
Your profile picture is the smaller photo. This photo is what sticks
with you all around Facebook, appearing wherever you comment or post
something. For example, your friends may see your status post in their
News Feeds, accompanied by your name and profile picture. Most people
use some variation on a headshot for their profile picture. There are
several ways to add a profile picture.

0 comments:
Post a Comment
Add Your Comment Below